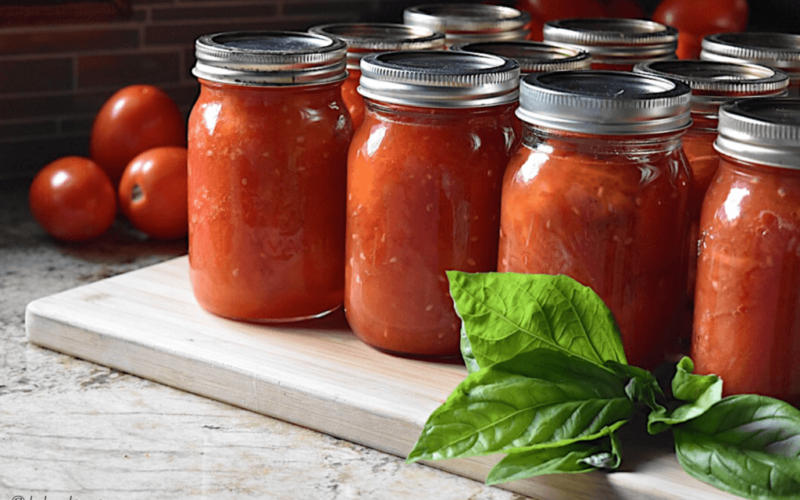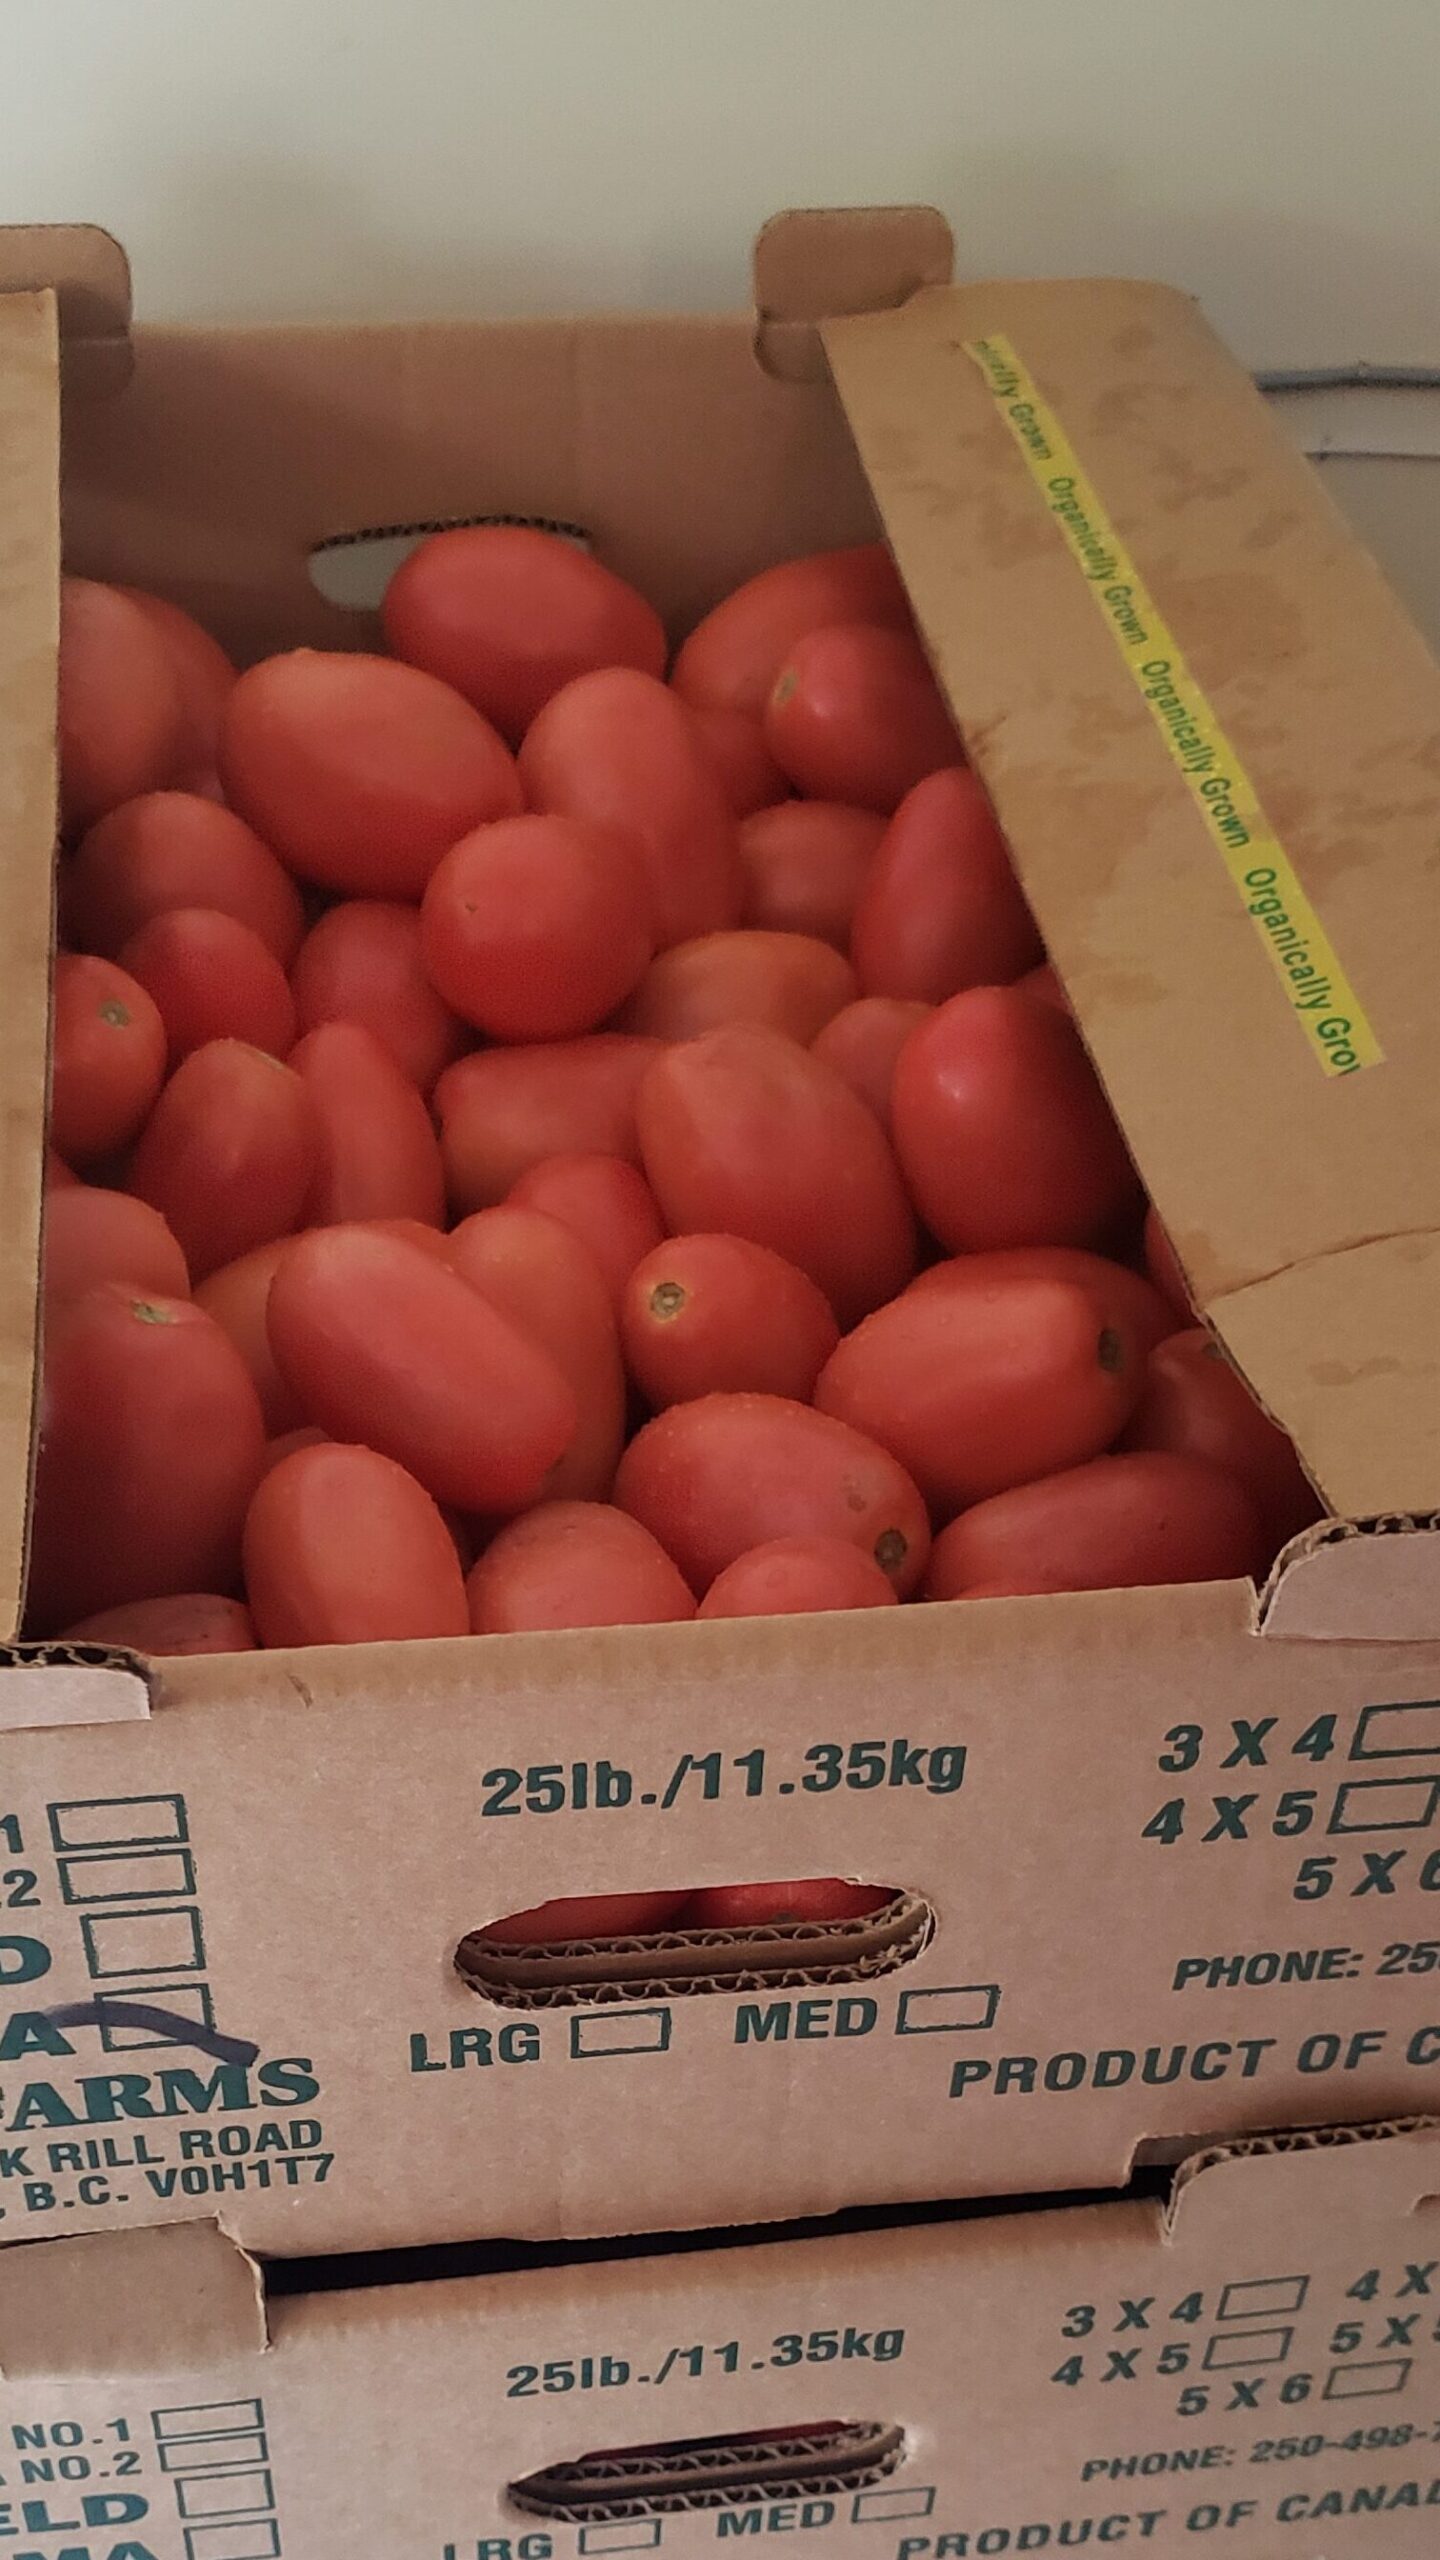
My grandmother and I (and usually my mother, and sometimes many aunts..) would all converge to one home and begin the arduous day of canning tomatoes. I say arduous because: A) If it was more than just my grandmother and I, we would be canning several more bushels; and B) we did not have some of the modern conveniences as describe below which made the process longer.
In today’s world, to begin canning you only need a few items that are necessary (as we used in the past) and then a few more “luxury” items that make this process simpler. So, you will need:
- Two very large stock pots (16 quart or larger). I recommend stainless steel or at least enamel. No aluminum!
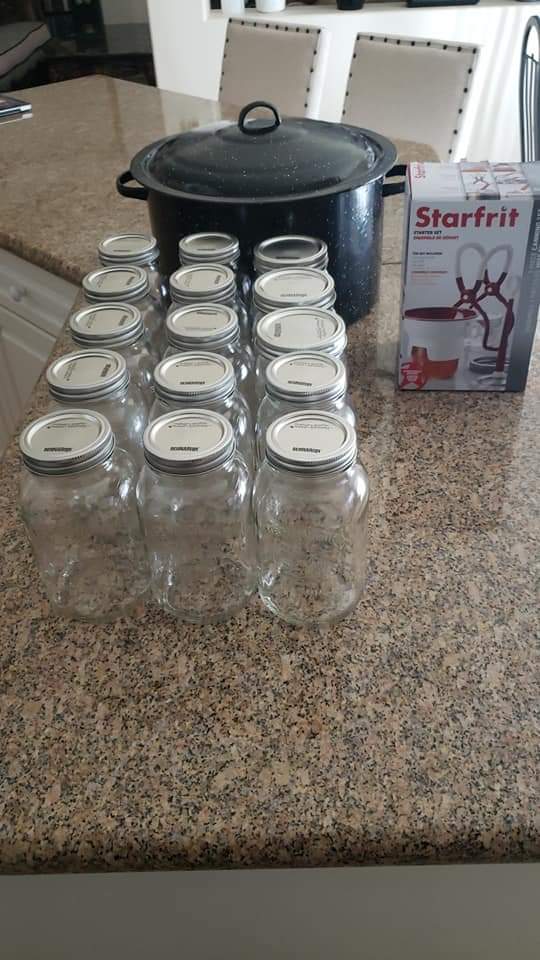
- One canning pot with lid (my canning pot was relatively cheap and made of enamel. It fits (7) quart-sized jars at a time and included a wire rack which I love for convenience)
- One small sauce pot to warm up the lids
- Several 1-quart sized Mason jars with the proper lids. I prefer the two-piece lids in the event you need to replace the caps. Be sure that the jars and lids are BHP free! I estimate roughly 25 lbs of tomatoes yield approx. (12) 1-quart sized Mason jars.
- One good paring knife
- One slotted spoon
- Salt
- Pair of waterproof oven mitts (any rubber pair will do)
- Several very large bowls (the amount depends on how people are helping you or if you use your sink)
- Lots of clean dish towels
- And lots of ice
As I said earlier, there are other things to make you life easier and canning:
- Canning Pot with lid and wire rack, there are also pressure cookers with a “Canning” setting but I have not ever used this.
- Magnetic lid holder
- Mason jar tongs
- Mason jar funnel
- Dishwasher (If using the method described below)
- Large sheet pan (only needed if you use the oven method described below)
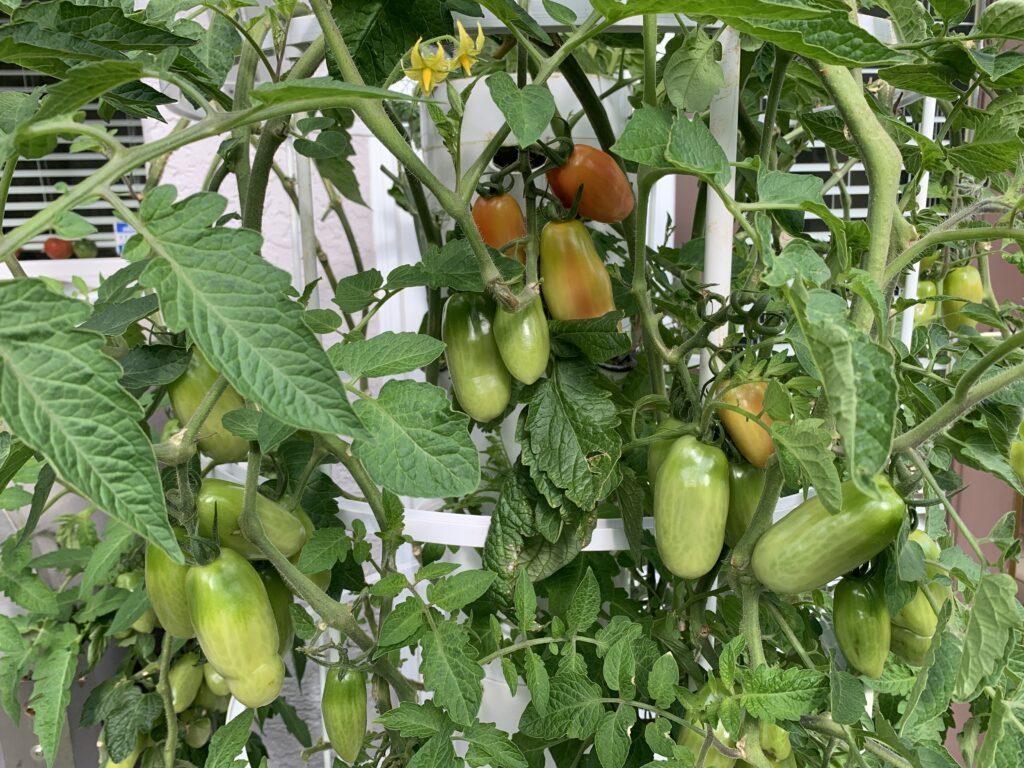
Bulk tomatoes from the farmers market usually are available around the October-ish time frame. They will sell you tomatoes by the box or bushel. I like to use roma tomatoes but any tomato will do the job. If this is your first time, I would advise starting small and buy only one box. Once you return home with your box of tomatoes I would place then in the sink and thoroughly wash them and then let them soak for a few minutes while I prepare other things.
In terms of jar preparation. There are many different ways this can be accomplished so I will name a few and you can decide what you feel is best for you. The old school way of doing this was to wash the jars thoroughly and then boil them for 20 minutes in a very large pot of water (I have seen some of the older more traditional Italians use a 55 gallon drum of water set on top of a large propane single stove burner) which requires an additional pot and its quite frankly very cumbersome however, it will do the job. You would pull the hot jars out of the boiling water and fill them with the tomatoes once they are done. Once you completed using all the jars that were in the pot, you would then repeat the process until all the jars are filled up. Again, this can take a long time but if its your only option then I say GO FOR IT!
Another method that is a bit more modern is to use your dishwasher and simply wash your jars and then set the dishwasher on the warmer cycle. The trick here is to not leave the door open too long when pulling the jars out for canning. But it is an option.

Finally, there is the oven method which tends to scare a few people, but it is the way I do it. I wash my jars either by hand or dishwasher first. Our dishwasher is very old and does not have the plate heater setting. So, I turn our oven to 215 F. I place the jars on a large sheet pan for stability and let then sit in the oven until I am ready for them. DO NOT EXCEED THIS TEMPERATURE! Water boils at 212 F so to set your oven any higher can cause the glass to break, crack or worse. So do not set for any hotter and you will be safe. Finally in a very small pot, add water and place the flat lid part of your metal lids in the water and turn the water on to low. Do not let the water boil. We want the rubber seal on the lids to soften so you get a good suction when your ready to can.

So, once you have your jars situation sorted, it is time to start canning! First you need to begin by boiling a pot of water on the stove. Next, you need to score your tomatoes with your paring knife on the bottom of the tomato in an “X”. Once you score the tomato, place it in the boiling water. After a few minutes you will see the skin curl off the tomato. Do not add too many tomatoes otherwise your water will no longer boil. Only add a few at a time. I also find it best to place a lid on the pot when I am not working with the pot. This save energy and keeps the heat in. Use your slotted spoon and place the tomato directly into the ice water. Once its cool enough to handle, peel the skin off. Once the skin is completely removed, chop the tomato up into chunks in your hand and place it into pot #2 on your stove that is empty. Once you have enough tomatoes, turn this pot on low. YOu can also place the chopped tomatoes into a separate bowl and once the bowl is filled, transfer the chopped tomatoes to your pot and begin to cook simmer them. We want to simmer the tomatoes for about 30-40 minutes. Use a low-med flame. DO NOT OVERHEAT! You will burn your tomatoes and ruin the taste. Make sure you stir the mixture every 6-8 minutes or so. Once I have peeled all of my tomatoes, I use available pot to start to cook a second batch the with.
After the tomatoes were skinned and cooked down, you can start to fill your jars. Fill the jars up to the top leaving only a ¼”- ½” gap from the top of the jar. Wipe your glass to make sure you jar is clean. This is where the mason jar funnel helps tremendously. Take on flat lid from you pot of hot water on the stove. Once the lid area of the jar is clean, place the flat metal lid (seal side down of curse) firmly onto the jar. This is where your magnetic lid holder is helpful. Then screw the cap ring into place but DO NOT TIGHTEN HARD. Only finger tight. Place the jars on your counter. Now some folks stop here and allow their tomatoes to cool. They also add a teaspoon of lemon juice to put acid into there tomatoes sauce prior to place the lid on to help preserve the sauce. Our family never used lemon juice. I feel tomatoes are acidic enough so adding more acid makes an acidic sauce later. So, I wait until I have 7 jars, then place the 7 full jars into my canning pot and I boil the jars for 40 minutes. Yes, this takes more time, but it increases my chances for no spoilage. Once my full jars are cooked off for 40 minutes, I set them on top of a tea towel on my counter and let hem cool. Once the jars are cooled, I tighten the caps slightly and put them away in my pantry!
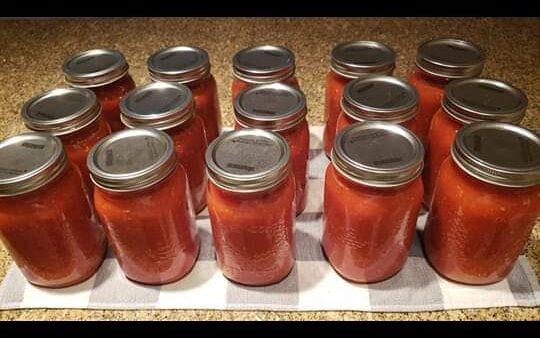
A few closing comments…. Some folks like to add garlic and herbs to their tomatoes sauce and think it will then taste like pre-made Italian red sauce. My comment is NO it really will not. In my experience with canning, the herbs become too overpowering and steal away the wonderful taste of your tomatoes. I also believe this is inviting a chance in to increase spoilage. So, I am a tomato canning purest! I can just tomatoes. Nothing else. Seasoning can always then be adjusted, and it give you the most flexibility. Besides, what if I decide to use the tomatoes for soup, or chilli, or something else? I therefore only can the tomatoes by themselves. However, you have the ability to choose your additives.
In closing, you will notice that I use bold text in a portion of this Blog. This was no accident. I wanted to let you know that the bolded font refers to tomatoes only. The remainder of this can be used to can other things such as: Giardiniera, jams, jellies, soup stocks. Etc. So, from here on out we will simply refer to the recipes to prepare such foods but not go back through the whole canning process. This makes writing shorter for me and less for you to read!

